
Modeling masks - or rubber masks as Alicia, our founder, likes to call them - have been used around the world and particularly in Korea because of their unparalleled ability to coax out the best side of your skin.
We’re talking radiant, supple, hydrated and beyond model-worthy skin.
These modeling masks used to be a treatment reserved for the Spa, as detailed by Alicia in her recent Byrdie article, but no fear! Shangpree, which sets the golden standard (pun intended) for spa treatments in Korea, decided to share their treasures with us.
After four years of R&D, Shangpree turned their award-winning spa treatments into a full product line, and you can bet we threw a party when we found out amodeling mask was among these new products.
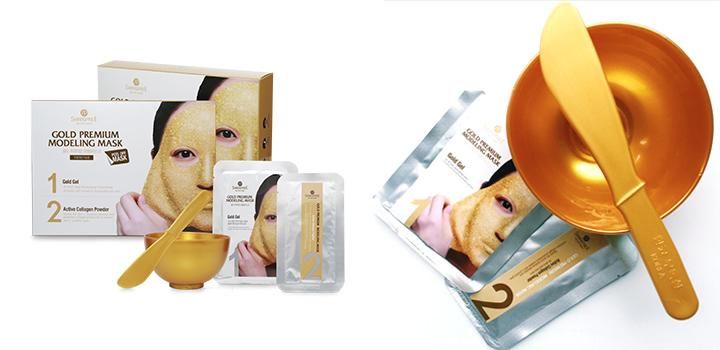
We get that the Shangpree Gold Premium Modeling Mask may seem a bit… well, scary - right? When we first tested it, we were a little intimidated, but as soon as we got the hang of it, we were hooked.
Welcome to the world of modeling (rubber) masks!
Step 1
Pour the gold gel packet into the antibacterial gold bowl or a mixing bowl of your choice.
The gold gel helps to activate cell renewal and to gently coerce all the vital nutrients, moisture, etc. into your skin. Because of the goop-y texture, the gel can actually stay moisturized for up to 72 hours!
Step 2
Pour the active collagen powder into the bowl.
Like the name indicates, this powder helps to promote collagen production, which is the key to maintaining youthful looking skin. The powder also helps your skin retain moisture, so it improves the hydrating capabilities of the mask.
Step 3
Mix, mix, mix!
You notice the texture at first is a bit runny/watery, but give it a good stir and a few minutes, and it’ll be more of a paste consistency that’s much more easier to apply.
Step 4
Spread the modeling mask mix all over your face.
We suggest applying in sections - left cheek, right cheek, chin, nose, forehead, lips (optional) - in order to get the smoothest application. It’s like you’re frosting a cupcake… but instead it’s your face!
Step 5
Leave on for 15-30 minutes for it to work it’s magic.
Step 6
Peel off starting from one end to another. The whole thing should peel off in one motion - you might get some stragglers around the hairline or jawline. Then, prepare to stare at your reflection and marvel at your glowing skin.